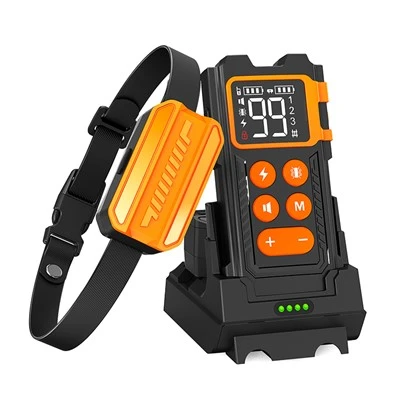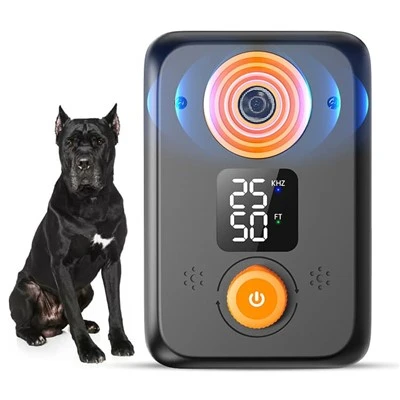

(1) Insert SIM Card: Open the SIM card slot on the device and insert a Micro SIM card. Some devices have built-in SIM cards, similar to the built-in SIM card in iPhones. Most mainstream devices currently use Nano-SIM cards.
(2) Power On: After inserting the card, press and hold the power button for 2 seconds. The device will vibrate and the indicator light will illuminate, indicating successful power-on.
(3) Wearing: After powering on, insert the device into the collar, adjust the collar buckle, and put it on your pet. Be mindful of the device's weight; an overly heavy device may affect the pet's comfort. Some products provide a dedicated collar or adapter to ensure a secure fit.
(4) Download and Install the App: Scan the designated QR code with your mobile browser to download and install the app. Register a username, enter the device ID code to bind it, and you can then monitor and control the device. After binding, users typically need to complete initial settings in the app, such as setting up an electronic fence and adjusting the data update frequency. After successful pairing, users can access the following core functions via the accompanying smartphone app: real-time location viewing and historical trajectory playback; setting up electronic fences (safe zones) and boundary crossing alarms; monitoring pet health data such as activity levels; remote low battery alerts; and multi-user shared monitoring.
Device battery life varies depending on usage patterns and environment, and periodic charging via USB is required. Some products support low battery app alerts.